Contents of Post
What is a WP 301 Redirect Plugin?
Once we have our WordPress sites up and running then we want to have more visitors. We are actively working on marketing strategies and hope for the best results. However, many times we have problems that we did not expect. One of the most common problems is that visitors get a “404 page” instead of the content they are looking for.
The solution to this problem is called the WP 301 Redirects plugin. This is a great plugin that will ensure that your visitors never see the 404 page again and that they are always shown the content they were looking for.
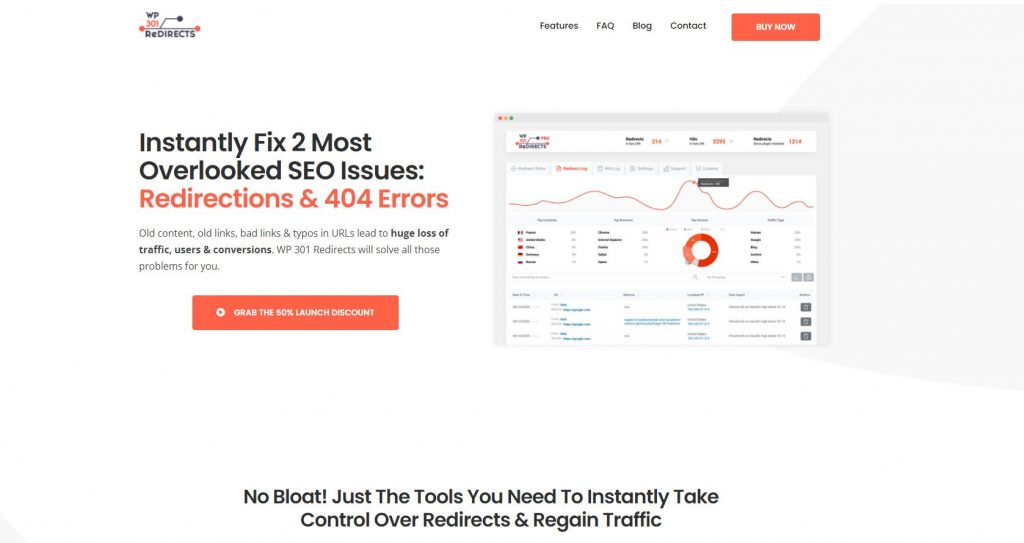 Main Features
This plugin has algorithms that will redirect if there is a non-existent page and display the content that caused the visitor to come to your WordPress pages.
The best thing is that the plugin is secure and compatible with all WordPress themes and plugins.
Within this powerful plugin, there are many options from which we have to point out:
- Boost meaningful traffic, which means that you will always show your visitors the content they want, and the “404 page” will not be displayed ever
- Take control over redirects – if link structures are changed accidentally or intentionally, this plugin will try to create a redirect rule that will display the correct content
- Ignore bad traffic – bad bots will be blocked automatically. Search engines will be allowed.
- Charts – detailed statistics within your site
- Great support – the authors of the plugin, provide outstanding support for this product
Installation WP 301 Redirect Plugin
You can find a free version of this plugin in the WordPress repository. If you want to buy a commercial version of this plugin, you have to download and install it on your site. The procedure is as follows:
Visit https://dashboard.wp301redirects.com/ and create an account, and if you already have one, log in. Download the plugin to your PC, then install it from your WordPress admin panel.
Then go back to the specified URL, log in, and click on “Licenses.” After creating a new license, copy the key and paste it inside the plugin on your WordPress pages. This way, your plugin is activated.
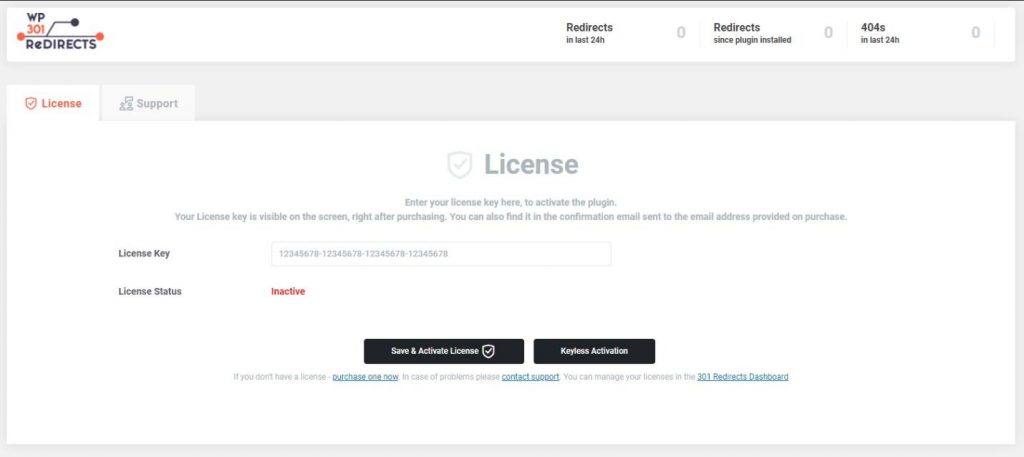
After installing and activating the plugin, creating a redirect rule and testing how it works on our site is necessary. Use these rules to redirect the content of your page to other content on or off the domain. In this way, “404 errors” are avoided, and visitors will see the desired content.
Redirect Rules
Log in to your WordPress pages, open the plugin page, and click Settings to add a new redirect rule. There is a tab “redirect rules,” and you have the option to create a new redirect rule. If you do not want to create a new redirect rule, you can always use one of the already predefined rules and change it according to your needs.
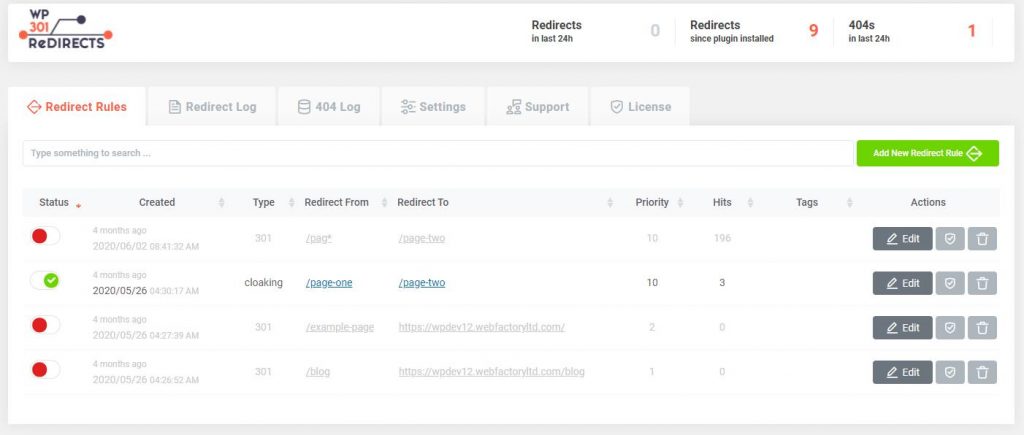
Over time, a large number of redirect rules make it difficult to follow what is going. That’s why there is a great search option. Click on the search box and enter the URL you need to locate within the Redirect rules section. The plugin will find your redirect rule.
If you no longer need some of the redirect rules, you can delete them very quickly. Next to each redirect rule on the right side is a trashcan icon. Click on that icon and, the rule will disappear. If you want to turn off some redirect rule temporarily, find an option that will switch it off on the left side.
If you want to know what is happening with all redirects and how it all works, you can receive a complete report by email.
The Email Reports option is on the plugin page in the section called General Settings. As for the number of email reports you can set up, you can put one email per day or one during the week. All emails will come to the default admin email address, but also you can set another one.
This plugin creates logs in which you can see what is happening with redirects. Since records take up a lot of extra space on the server, you can delete them if you want to.
As for advanced options within this plugin, there are a lot of them, and we will mention some of the best ones.
The first option on the list is the ability to disable all redirects. Go to Settings, go to the Advanced options and click on “Disable all redirect rules.”
You can turn off redirect rules only for logged-in users. You will achieve this by going to Settings, then the Advanced option, and clicking the “Disable for logged-in users.”
Link Scanner
Link Scanner is one of the most powerful features of this plugin that just made it into the latest version. You will find this option in Settings -> 301 Redirects -> Link Scanner tab.
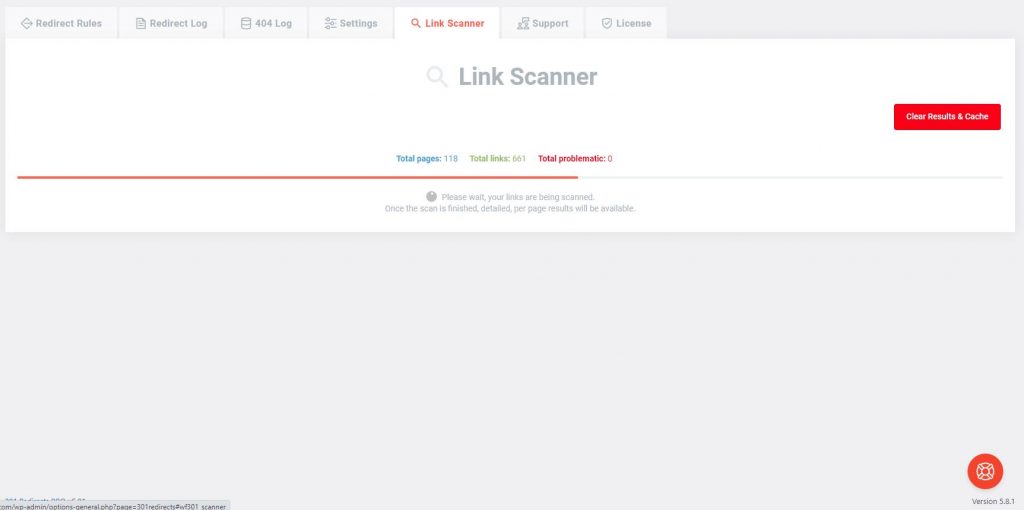
Link Scanner is a new option within the plugin that will quickly scan and analyze the complete site for links. All you have to do is click on the button and wait for the plugin to do everything else.
To use Link Scanner, you must have the latest version of the plugin installed.
Of course, to use this option, you must have at least one credit available. The number of credits depends on how many you bought.
Credits can be recurring or one-time. The difference is that recurring credits reset every 1st of the month, and you can do a scan as many times as the credits you have. One-time credits are not reset every month, but you can only use each credit once.
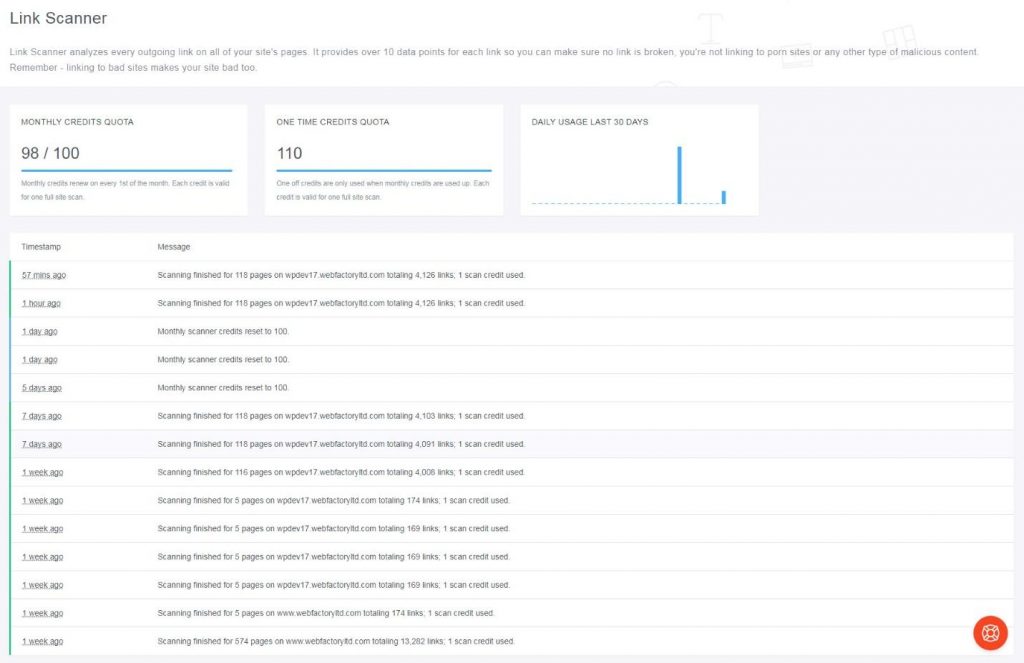
Credits cannot be purchased right now, but this option will be available and implemented very soon. Depending on which license you own, you already have several credits you can use to scan your site.
Scanning a complete site can take a few minutes, and it all depends on how many posts, pages, and links you have on your WordPress site.
It is important to note that at the time of scanning, you can do anything else. The scanning runs in the background, and you can always return to the Link Scanner tab to see how the scan went.
Once the scan is complete, you can check out the results.
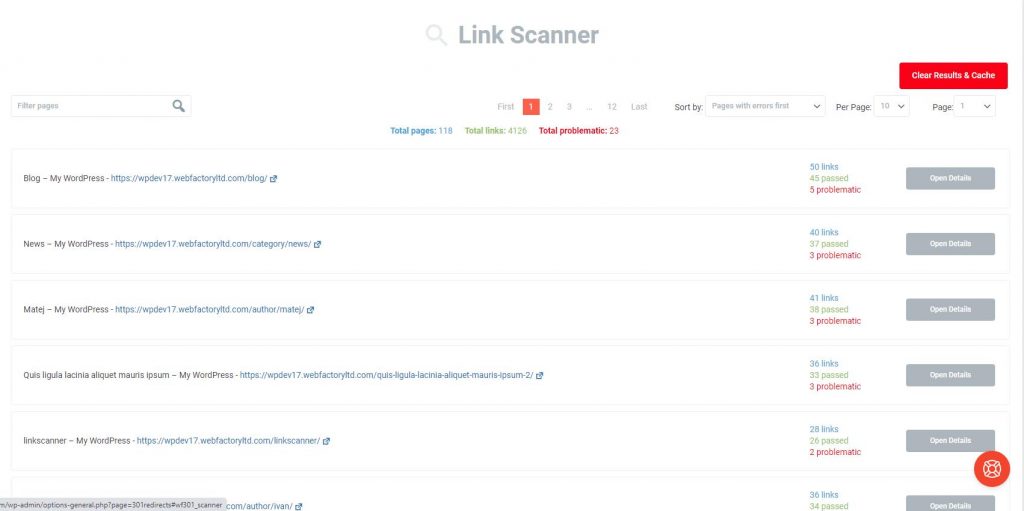
The results interface is self-explanatory. Within the interface, you can see how many pages the tool scanned in total, the total number of links found, and the number of problematic links. You can sort the results as you wish so that you have a better overview. You have a search option in the upper left corner, and you can very easily find exactly those links that interest you.
Within the table, each row represents one scanned page or a link. On the left side are the name and the link to the page. The number of scanned links and the number of links passed the test are on the right side.
You will probably be more interested in links that did not pass the test, and below we will explain how to view them.
Next to each link, you have an Open Details button. Click on that button, and a detailed overview of the stack link will open. All problematic links will be at the top of the page and have a red icon on the left.
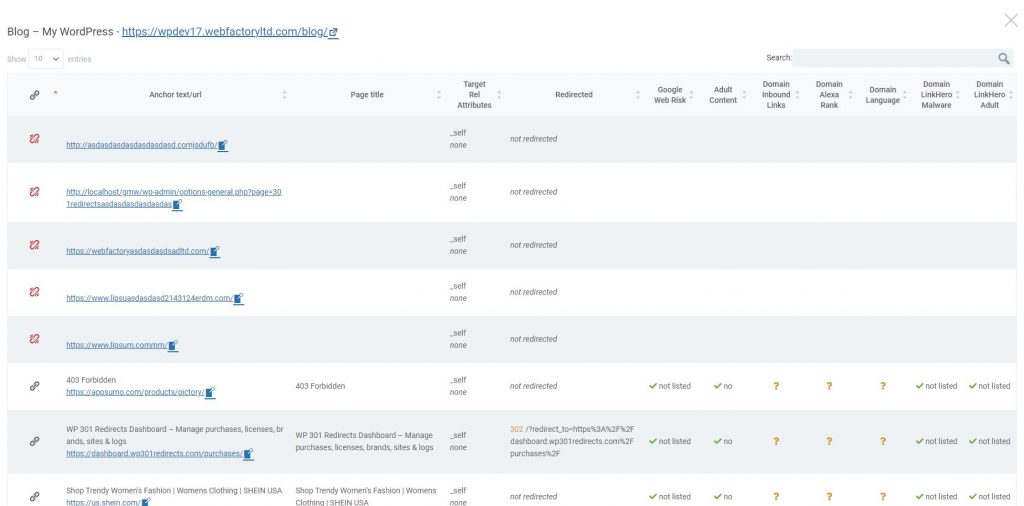
If you want to isolate any of these links, click on the icon next to the URL. The link URL will open, and you will get information on the exact location of the page link. This way, you can correct or replace invalid links very quickly.
Pricing Plans
WP 301 Redirect is an excellent and valuable plugin, and every WordPress administrator should have it in their collection. You can get a personal license for USD 39 / year, and it is best for people who have a personal blog. The Team package costs USD 79 / year, and you can use it on five sites with premium support included. The most expensive package is Agency and costs USD 149 / year, and you can use it on 100 sites.

Conclusion
Any serious WordPress administrator should have the WP 301 Redirects plugin. In addition to guaranteeing that your visitors will never see the “404 error” page again, the latest option called Link Scanner allows you to access problematic links directly and correct or delete them entirely in just a few clicks. Since the prices of the plugin are adjustable, we highly advise you to try it.

